Contour and Highlight: Reshaping Bone Structure with Light and Shadow
From the complementary logic of light and shadow to the placement of contour on mid-face, cheekbone, and jaw, a clean method that doesn't read dirty.
Contour and highlight aren't about painting the face dirty or shiny, they're about using light and shadow to reshape bone. Shadow builds recession, highlight builds protrusion, and only together do you get dimension. The classic beginner move is two black bars of contour or a smear of grease for highlight, and both fail on placement and amount. Many think heavier contour means thinner, and end up with sideburns.
This piece goes from the principle of light and shadow, through brush specs and the exact placement on each facial zone, to highlight texture and amount control, into a clean repeatable method, and explains why Asian faces need a lighter contour than the Western method. The most advanced contour is one where no one can tell you contoured, yet your face looks smaller.
The Complementary Principle of Light and Shadow
The eye reads dimension by light and dark: bright reads near and convex, dark reads far and concave. Contour color should be a gray-brown one and a half to two shades deeper than the skin, gray not red, because red reads dirty like a sunburn, mimicking a natural shadow rather than a deliberate black. Highlight is a fine-shimmer or matte light to build the gleam of bone, not a bright wash over the whole face.
Asian bone is gentle, so contour must be light and diffuse; heavy and it looks like sideburns. The rule is large shadow area, tiny amount, soft edge; small highlight area, precise point, no overflow. Keep the whole contour intensity at a level where others can't tell you did it but feel your face got smaller, and that's advanced. Understand the complementarity of light and dark and you'll stop treating contour as paint-it-black.
- Contour is gray-brown, not red, to avoid dirty
- Large shadow area, tiny amount, soft edge
- Asian faces need light, diffuse contour
The most advanced contour is one no one can see.
Brush Specs and Placement
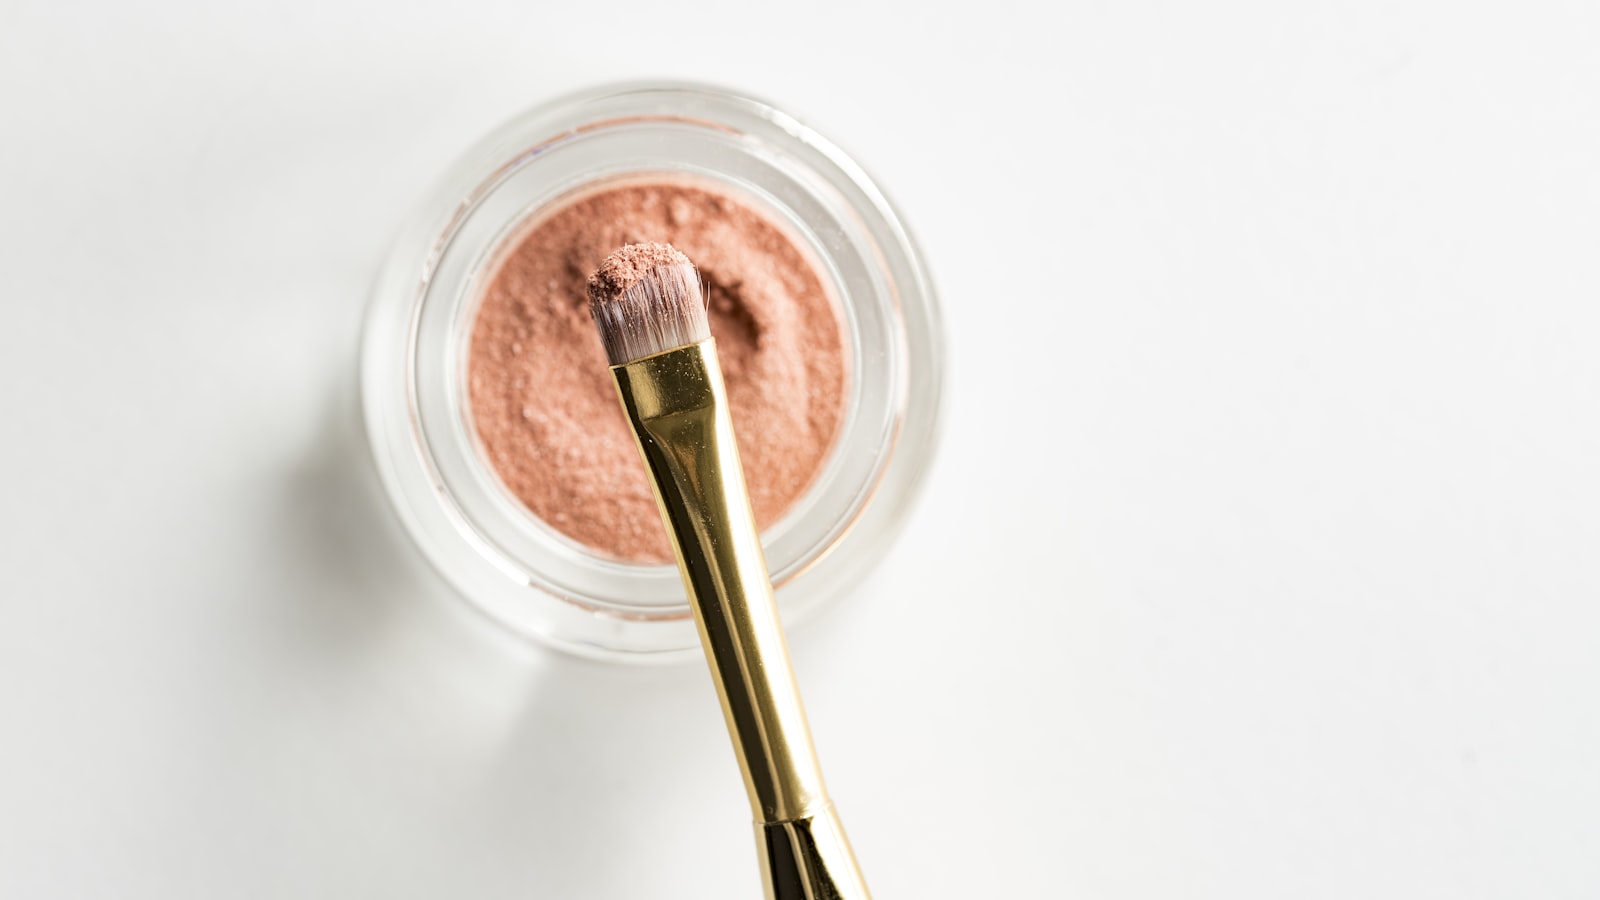
The contour brush is an angled fluffy, goat hair or wool blend, 3.2 cm bristles, medium density, and after loading you twirl it twice on the back of the hand to knock off most of the excess. First use should show no obvious color, always add. Placement one: below the cheekbone, sweep diagonally from about 1.5 cm in front of the ear toward the mouth corner, never down under the eye, because under-eye contour reads dirty and old.
Placement two: the jawline, follow the bone from below the earlobe down to the chin to narrow the lower face. Placement three: a light sweep at the hairline edge and the temple hollow to balance forehead width. For the nose, a fine angled brush, 1.5 cm bristles, carries shadow from below the brow down the sides of the bridge, never past the vertical line of the inner eye or you get a sky-high nose. Get the placement wrong and even the right color can't save it.
- Angled brush, 3.2 cm bristle, knock off the excess
- Sweep below the cheekbone, not under the eye
- Nose shadow stays inside the inner-eye line, no sky-high nose
What the contour brush knocks off is excess; what stays is natural.
The Precise Points of Highlight
Highlight lands only where it should protrude: the high point of the cheekbone, just above the apple when you smile, the junction below the brow bone and outer eye, the mid bridge of the nose, not connected to root and tip or it looks oily, the cupid's bow, and the chin tip. Each point takes a mung-bean of powder or a rice-grain of liquid, patted on, never smeared, because smearing spreads it into a grease slick.
Liquid highlight goes after foundation, before setting, patted with a fingertip on cheekbone and bridge for a skin-like gleam. Powder highlight goes after setting on the same spots for oil control. Oily skin takes fine-shimmer powder, dry skin takes liquid for more moisture. The center of the forehead usually gets no highlight, it reads oily and widens the face. Highlight is a point, not an area, and overflow turns it to grease.
- Highlight the cheekbone, bridge, cupid's bow, chin tip
- Liquid before powder, powder after powder
- Oily skin fine-shimmer powder, dry skin liquid
Highlight is a point, not an area; overflow turns to grease.
Contour Priorities by Face Shape
A round face focuses on below the cheekbone and the double jaw, with a chin-tip highlight to lengthen. A long face takes the temples and hairline to balance length, with highlight placed horizontally on the apple, not the nose bridge. A square face softens the jaw angle and outer cheekbone. A diamond face fills the temple hollow and pulls in the cheekbone for a smooth line, avoiding emphasis on the bone.
Each face type contours to fix one shortcoming, not to do the full set. A round face shouldn't add a nose highlight or it rounds further; a long face shouldn't add a chin highlight or it lengthens. Judge the one or two spots you most want to improve and concentrate there, cleaner and more effective than contouring the whole face. Face shape decides the priority, and blind full-set contour only emphasizes the flaws.
- Round face: pull in cheekbone and jaw, lengthen
- Long face: pull in temples to balance
- Square face: soften the jaw angle and outer cheek
Contour fixes one shortcoming, not the whole face.
A Blend Technique That Doesn't Read Dirty
After contour hits the face, take a clean fluffy brush, no product, and sweep the edge toward the hairline and behind the ear so there's no hard seam. If you went too heavy, a clean brush with a little powder or foundation lightly sweeps over to dilute. Blur the highlight edge with a fingertip or dry brush so no gray line sits at the contour-highlight junction, because that gray line is the dirtiest tell.
Checking in natural light is mandatory, because a contour that looks clean under warm lamps may already be a black bar in daylight. Newbies should practice with a gray-toned contour cream, which blends and forgives, before moving to powder. Contour is slow work, a minute per side pays off. Clean or not, natural light decides.
- Clean brush sweeps the edge toward the hairline
- Too heavy: dilute with a powder brush
- Check in natural light to dodge the black bar
Clean or not, natural light decides.
Product Forms and Price Ranges
Contour powder suits newbies and oily skin, about 45 to 160 RMB, roughly 6 to 22 dollars, in gray-brown or cool-brown. Contour cream suits dry skin and the advanced, about 60 to 220 RMB, roughly 8 to 30 dollars, patted with finger or damp sponge. Liquid contour, about 50 to 180 RMB, roughly 7 to 25 dollars, is precise but harder on edges.
Highlight powder runs about 35 to 200 RMB, roughly 5 to 28 dollars, fine shimmer first; liquid highlight about 50 to 260 RMB, roughly 7 to 36 dollars, for translucency. On a budget, one gray contour powder plus one fine-shimmer highlight powder covers daily life. High-end and drugstore differ in powder fineness and color control, but with the method right the result is the same. Contour and highlight want gray tone and fine shimmer, not price.
- Contour powder 45 to 160 RMB
- Contour cream 60 to 220 RMB
- Highlight powder 35 to 200 RMB
Contour and highlight want gray tone and fine shimmer, not price.
The Order of Contour Against the Base
Contour and highlight can sit before or after setting, but order changes the result. Powder contour sweeps after loose powder so it isn't diluted by foundation; liquid contour goes after foundation, before setting, more blended but harder to control. Highlight follows the same logic: liquid before powder, powder after, for oil control. Newbies should do everything in powder after setting, the most forgiving.
Before contour, make sure the base is stable and not slipping, or the contour shifts and clumps with it. Contour first, then highlight, recede then advance, logic clear. Keep the whole thing under two minutes, because contour is a quick sweep, not fine drawing. Get the order right and contour becomes a plus, not a burden.
- Powder contour after setting is most forgiving
- Liquid contour after foundation, before setting, blends
- Contour first, then highlight, recede then advance
Wrong contour order turns dimension into dirty blocks.
Practical checklist
- Contour in gray-brown, red tone reads dirty like sunburn
- Large shadow area, tiny amount, soft edge; highlight precise, no overflow
- Nose shadow stays inside the inner-eye line, no sky-high nose
- Judge the face shape, fix one or two short boards, not the whole face
- Check in natural light, warm-lamp clean may be a black bar
- Newbies do all powder after setting for maximum forgiveness
The essence of contour and highlight is a game of light and shadow, not paint-it-black or shine-it-up. Hold the lines of gray-toned contour, diffused edges, pointed highlight, and fixing the short board by face shape, and you dodge ninety percent of crashes. Asian bone is gentle, so contour stays light and diffuse, aiming for others feeling your face got smaller without seeing the work. Get the placement and amount right before you chase products, because method and order beat price. Step back further: contour and highlight serve the bone, they don't cover the face shape. Accept your bone and optimize moderately, and it wears better and stays cleaner than forcing a different face.
Frequently asked
Why do I always get two black bars of contour?
My highlight looks like oily skin, what went wrong?
Should a beginner use contour cream or contour powder?
Keep reading
More Makeup
Eye Makeup Basics: The Three-Shade Structure and Blend Boundaries
Build dimensional eye looks on a base, transition, and depth structure, and master the blend boundary and eye-shape adjustments you can actually copy.
Eyebrow Design: Mapping the Arch to Your Face Shape and Brow Color
From placing the arch by face shape and matching brow color to hair, to tweezing frequency and the stroke order, a complete method for brows that are actually yours.
The Complete Logic of Base Makeup: Order and Technique from Primer to Setting
From sunscreen and primer through concealer and powder, we break down the dosage, tools, and sequence of every step into a base routine that won't cake or patch.