Eyebrow Design: Mapping the Arch to Your Face Shape and Brow Color
From placing the arch by face shape and matching brow color to hair, to tweezing frequency and the stroke order, a complete method for brows that are actually yours.
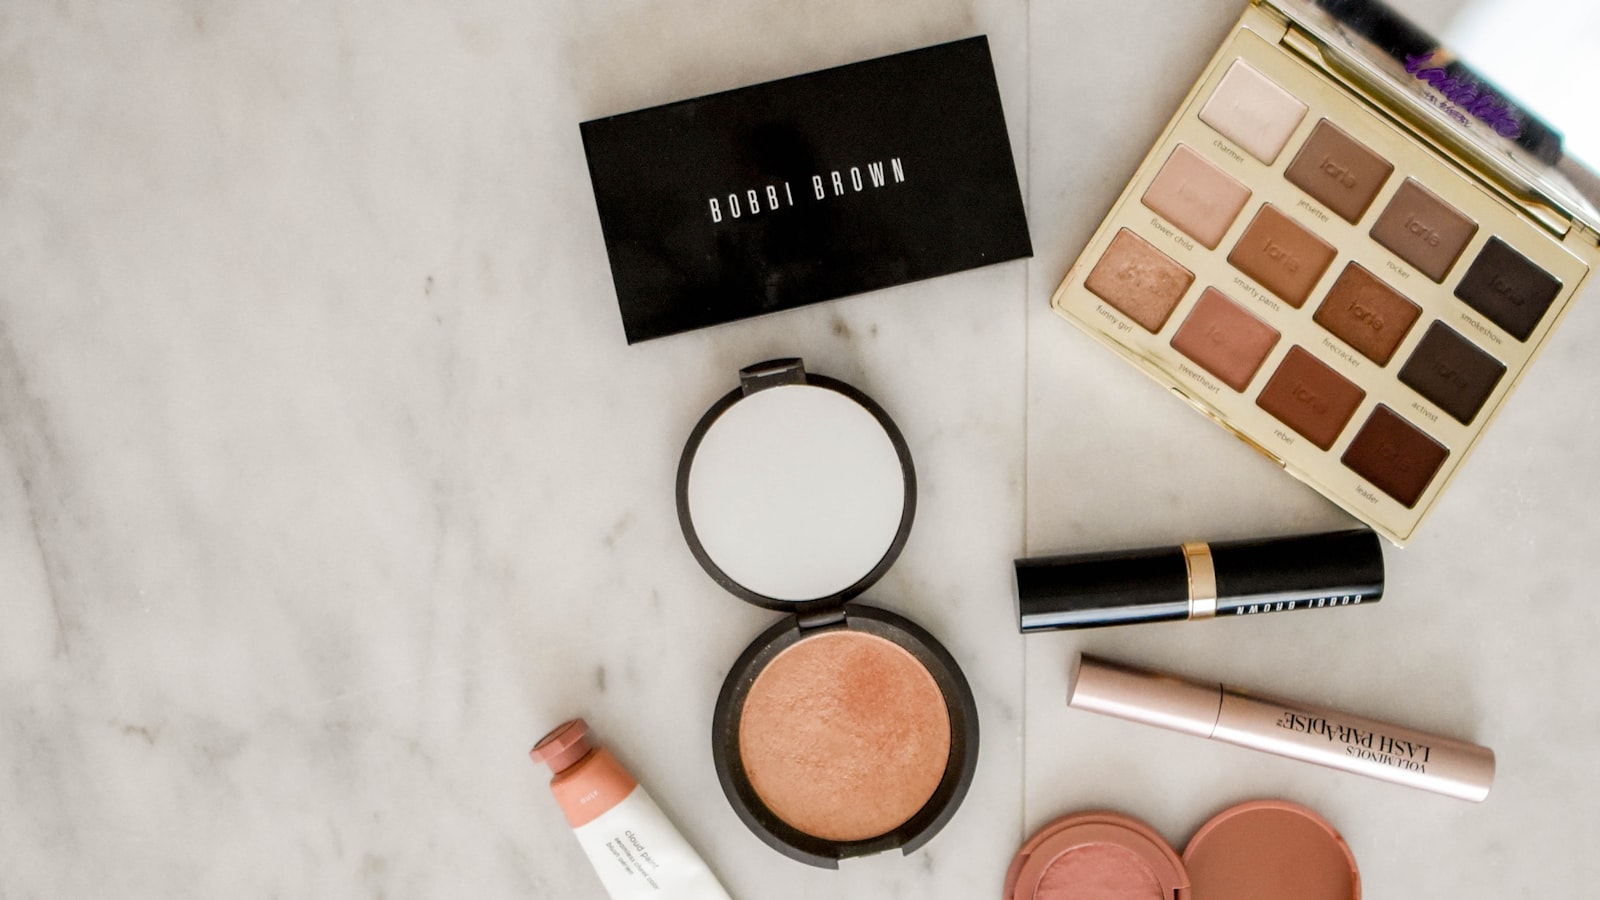
Brows are the frame of the face; shift one arch and the whole face's weight moves. Most people draw brows stiffly because the arch position, the curve, the length, and their own face shape don't match, or the brow color is far darker than the hair and reads harsh. Brow design measures the face before the pencil, it doesn't copy whatever's trending, because trending shapes are drawn for specific bone structures.
This piece maps the face-shape-to-arch relationship, the lighter-not-darker brow-color rule, tweezing frequency and tools, and the hair-stroke order, into a complete flow from judgment to execution. Brows are the cheapest, highest-return adjustment on the face, and once practiced you'll have a brow that is genuinely your own.
The Arch Position Is Decided by Face Shape
The standard arch sits where the vertical line of the outer iris meets the brow bone, roughly two-thirds along the brow's length. A round face shifts the arch slightly outward and lifts it to draw an upward line that lengthens the face. A long face flattens the arch and relaxes the curve, even a straight brow, to shorten the visual length. A square face rounds the arch with a soft arc to soften the jaw, and a diamond face keeps the arch from climbing too high so the cheekbone doesn't pop further.
Set the length with three-point positioning: the head aligns with the vertical line of the inner nose wing, the tail sits where the line from nose wing through the outer eye corner lands, and the arch falls where the line from nose wing through the outer pupil lands. Dot those three points and connect them, that's your base skeleton. The skeleton doesn't follow trends, only the fill technique does. Set the skeleton before the style or it never feels right.
- Round face: shift the arch out and up to lengthen
- Long face: flatten the arch to shorten the look
- Three-point positioning sets head, arch, and tail
The arch is the adjuster of the face shape.
Brow Color a Half-Shade Lighter Than Hair Reads Natural
Brow color that's too dark is the main reason brows look harsh and aged. Black hair should reach for deep gray-brown, not pure black; deep brown hair takes light brown; lightened hair takes gray-brown or linen, always a half to one shade lighter than the hair. Dyeing to a cool gray and then using a warm brown pencil turns muddy, so switch to a cool gray brow to keep the tones consistent.
Brow powder makes a softer transition than pencil, so newbies fill the base with a gray-brown powder, then add hair strokes with a fine pencil. Tinted brow gel adjusts the overall tone, scrape the excess at the tube mouth, brush from tail to head in reverse then forward to avoid clumps. Brow color shifts with your hair through the year, it isn't a fixed decision, so re-match when you recolor.
- Brow color a half to one shade lighter than the hair reads best
- Black hair uses deep gray-brown, never pure black
- Tinted gel: scrape excess, reverse-brush then forward
One shade darker in the brow, a mile farther away in feel.
Tweezing Frequency and Tool Choice
Tweezing frequency follows hair growth; generally clear stray hairs every two to three weeks, not daily, or the boundary keeps narrowing. For tools, a slanted stainless tweezer about 0.3 cm wide grips the root close to the skin and pulls clean in one motion, along the hair direction to cut the sting. Brow scissors with a comb, curved, only trim the over-long tips that cross the ideal line, never shear the whole brow.
Comb the brows upward first to expose strays beyond the ideal line, then pluck the scattered hairs outside the shape, keeping the natural arch above the brow bone. A three-minute warm compress before tweezing softens the follicle and eases pain. Sensitive skin can dab aloe after to calm redness. Tweezing is subtraction, and leaving space is harder than filling, so think before you pull.
- Clear stray hairs every two to three weeks, not daily
- Slanted tweezer about 0.3 cm wide, pull along the grain
- Comb-scissors trim only the over-long tips
Tweezing is subtraction; leaving space is harder than filling.
The Hair-Stroke Order of Drawing Brows
Draw brows base first, then strokes. With powder or pencil, fill from tail toward head, deepest at the tail and lightest at the head, so the head never looks stamped. Then with a fine pencil, 0.7 mm core, draw short strokes at the head, direction bottom-up and outward, mimicking real growth, two or three per group and not connected, because connected strokes read fake.
From mid-brow to the arch, follow the hair direction to fill; from arch to tail, thin and taper the end. Finish by blurring with a spiral brush so the head fades. The whole reads front-light back-deep, top-soft bottom-solid, a natural brow from afar and real strokes up close. Use less rather than more; you can add, but too much looks fake and is hard to rescue. Strokes are the soul of the brow, without them it's a dead frame.
- Tail deep, head light, never stamp the head
- Fine 0.7 mm pencil draws grouped strokes
- Spiral brush blurs the head and softens the edge
A good brow reads as shape from afar, strokes up close.
The Temperament Trade-Offs of Brow Styles
A flat brow reads youthful and approachable but weak on elongation, good for long faces and a soft mood. An arched brow reads energetic and strong but risks harsh if the arch passes fifteen degrees, so keep it within fifteen. A crescent brow is gentle and classical, good for round and oval faces. A sword brow is bold and needs the right bone or it looks abrupt, where ordinary faces tend to crash.
For daily commuting we recommend a natural slight arc, soft arch and moderate length, fitting most occasions. For important events you can sharpen the tail slightly for polish. Avoid chasing both thin and arched at once, the thin-arched brow demands extreme bone and reads harsh on most. Pick a brow that complements the face shape rather than the trend, because the trend may not live on your face.
- Flat brow is youthful, arched is energetic
- Crescent is classical, sword needs bone
- Daily wear a natural slight arc is most versatile
Brow temperament should complement the face, not chase the hit style.
Details of Setting and Defining Brows
After oil or breakdown, brows fade, so a transparent or tinted brow gel lightly sets them. Scrape a rice-grain amount at the tube mouth and brush from tail to head to lock the strokes and refresh color. Heavy sweaters should lay powder first then gel for longer wear, because a single gel layer smudges with sweat.
After drawing, run a concealer half a shade lighter than skin along the lower brow edge in a thin line and blend to clean the boundary, a step many skip. Only clean the lower edge and outer tail, keeping the upper edge's natural hair feel, because sealing it all turns the brow into a sticker. The upper edge's hair feel is where liveliness comes from, so don't cut it to a hard line.
- Transparent gel locks the strokes and refreshes color
- Concealer cleans the lower edge for sharpness
- Keep the upper edge's natural hair feel, no sticker
Setting locks the strokes, not the shape.
Brows in Dialogue with Overall Style
Brow shape should match makeup intensity: a light look gets a natural slight arc, a heavy look can carry a clear arch or crescent for completion. In professional dress, a sharp tailored tail reads competent; on a date, a soft arch reads gentle. The same face with a different brow shifts the whole aura, that's the magic of brows.
Don't draw only one brow all year; micro-adjust by occasion rather than fully switching styles, which reads more natural. Note the brow shape you get complimented on in different settings and build two or three fixed plans to rotate, steadier than improvising each time. Brows are a style switch, used well they multiply your effort.
- Light makeup natural brow, heavy makeup clear brow
- Professional dress sharp tail, date soft arch
- Build two or three fixed brow plans
Brows are a style switch; set them right and effort multiplies.
Practical checklist
- Three-point positioning first for the skeleton, then move the arch by face shape
- Brow color a half-shade lighter than hair, even black hair skips pure black
- Tweeze every two to three weeks, not daily or it narrows
- Front light back deep, top soft bottom solid, grouped strokes not sheets
- Conceal the lower edge to clean, keep the upper edge natural
- Match brow to makeup intensity, natural for light, clear for heavy
Brows are the cheapest, highest-return adjustment on the face. First build the skeleton with three-point positioning, then move the arch by face shape, hold the half-shade-lighter brow color, control tweezing frequency and tools, and follow front-light-back-deep with proper stroke order. This method doesn't discriminate by face shape and doesn't lean on trends; practice it and you'll have a brow that is truly your own. Brows are also a style switch, micro-adjusted with occasion and makeup, putting the aura at your fingertips, which is the real point of brow design. One last reminder: a brow isn't more refined the thinner it gets, the negative space and the strokes are where liveliness lives, and over-narrowing reads harsh. Lock in the two rules of three-point positioning and half-shade brow color, and the rest is just practice.
Frequently asked
Why do my drawn brows always look harsh?
What brow shape makes a round face look smaller?
How long does redness after tweezing last, and what helps?
Keep reading
More Makeup
Eye Makeup Basics: The Three-Shade Structure and Blend Boundaries
Build dimensional eye looks on a base, transition, and depth structure, and master the blend boundary and eye-shape adjustments you can actually copy.
The Complete Logic of Base Makeup: Order and Technique from Primer to Setting
From sunscreen and primer through concealer and powder, we break down the dosage, tools, and sequence of every step into a base routine that won't cake or patch.
Makeup for Sensitive Skin: Ingredient Avoidance and Gentle Removal
List the irritants sensitive skin should avoid, the standards for low-irritation product choice, and a complete gentle-removal routine.