Eye Makeup Basics: The Three-Shade Structure and Blend Boundaries
Build dimensional eye looks on a base, transition, and depth structure, and master the blend boundary and eye-shape adjustments you can actually copy.
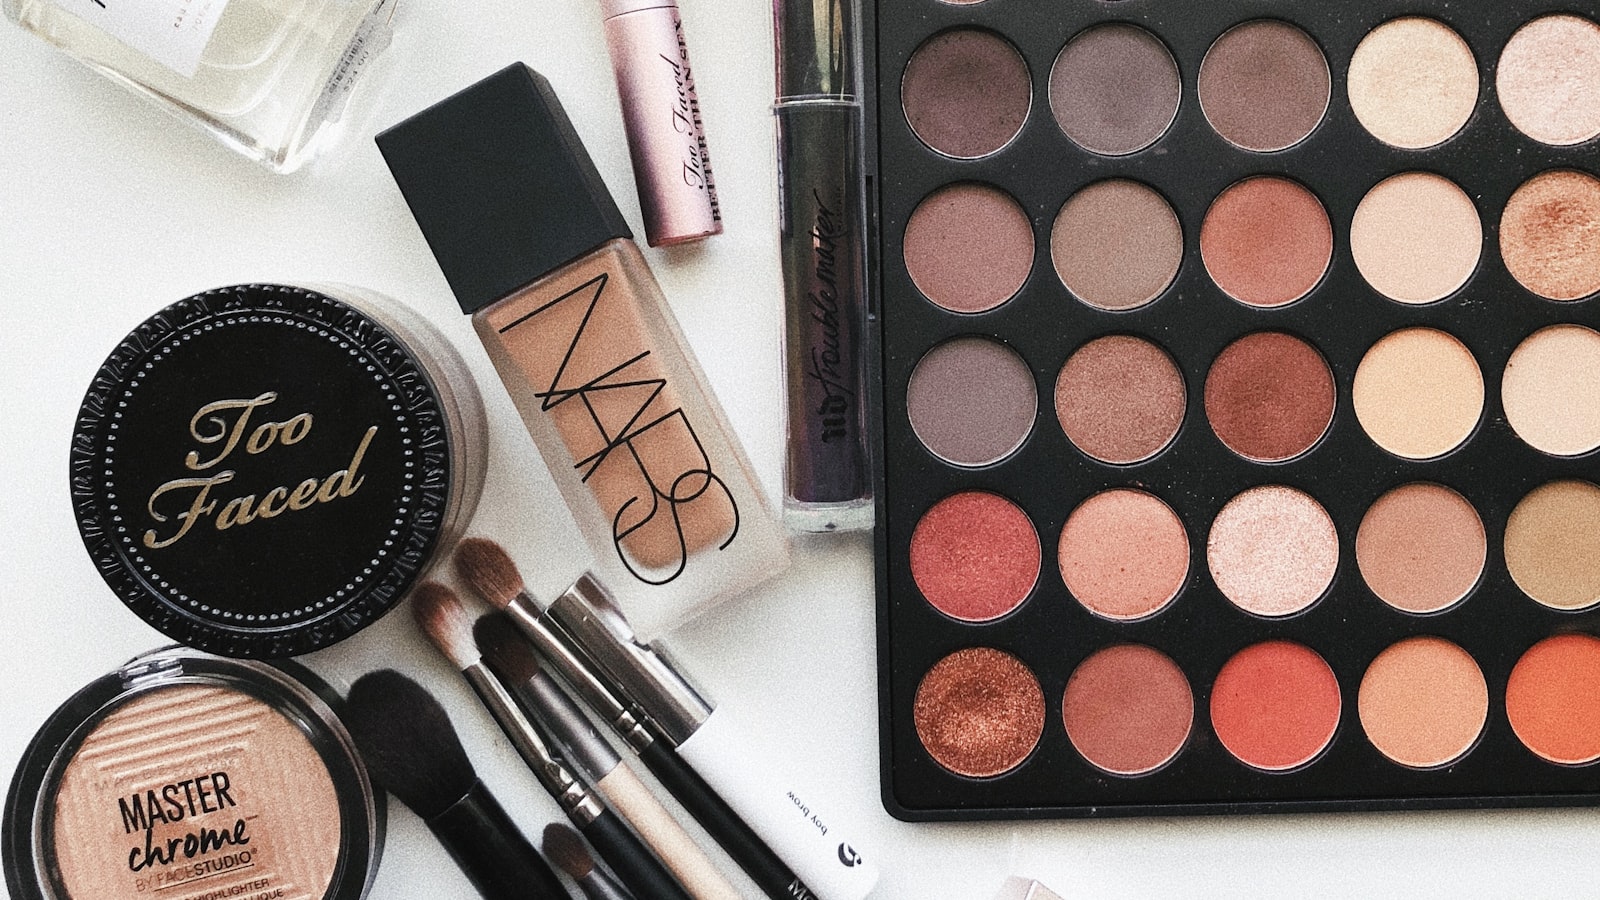
A good eye look doesn't come from more colors, it comes from a clear structure. The three-shade structure, a base that unifies the skin, a transition that builds dimension, and a depth shade that carves the contour, is the chassis under almost every wearable eye. The hard part isn't picking colors, it's controlling the blend boundary and landing each shade in the right place for your eye shape. Most people's eyeshadow looks dirty not because the colors are ugly, but because the edges weren't softened and the placement fell outside the lid.
This piece breaks down brush specs, per-shade dosage, blend direction, and the fixes for monolids, inner doubles, and downturned eyes, into a process you can copy directly instead of another pretty palette you can't replicate. Learn the structure first, color comes later, and it's the fastest way to level up.
The Jobs and Placement of the Three Shades
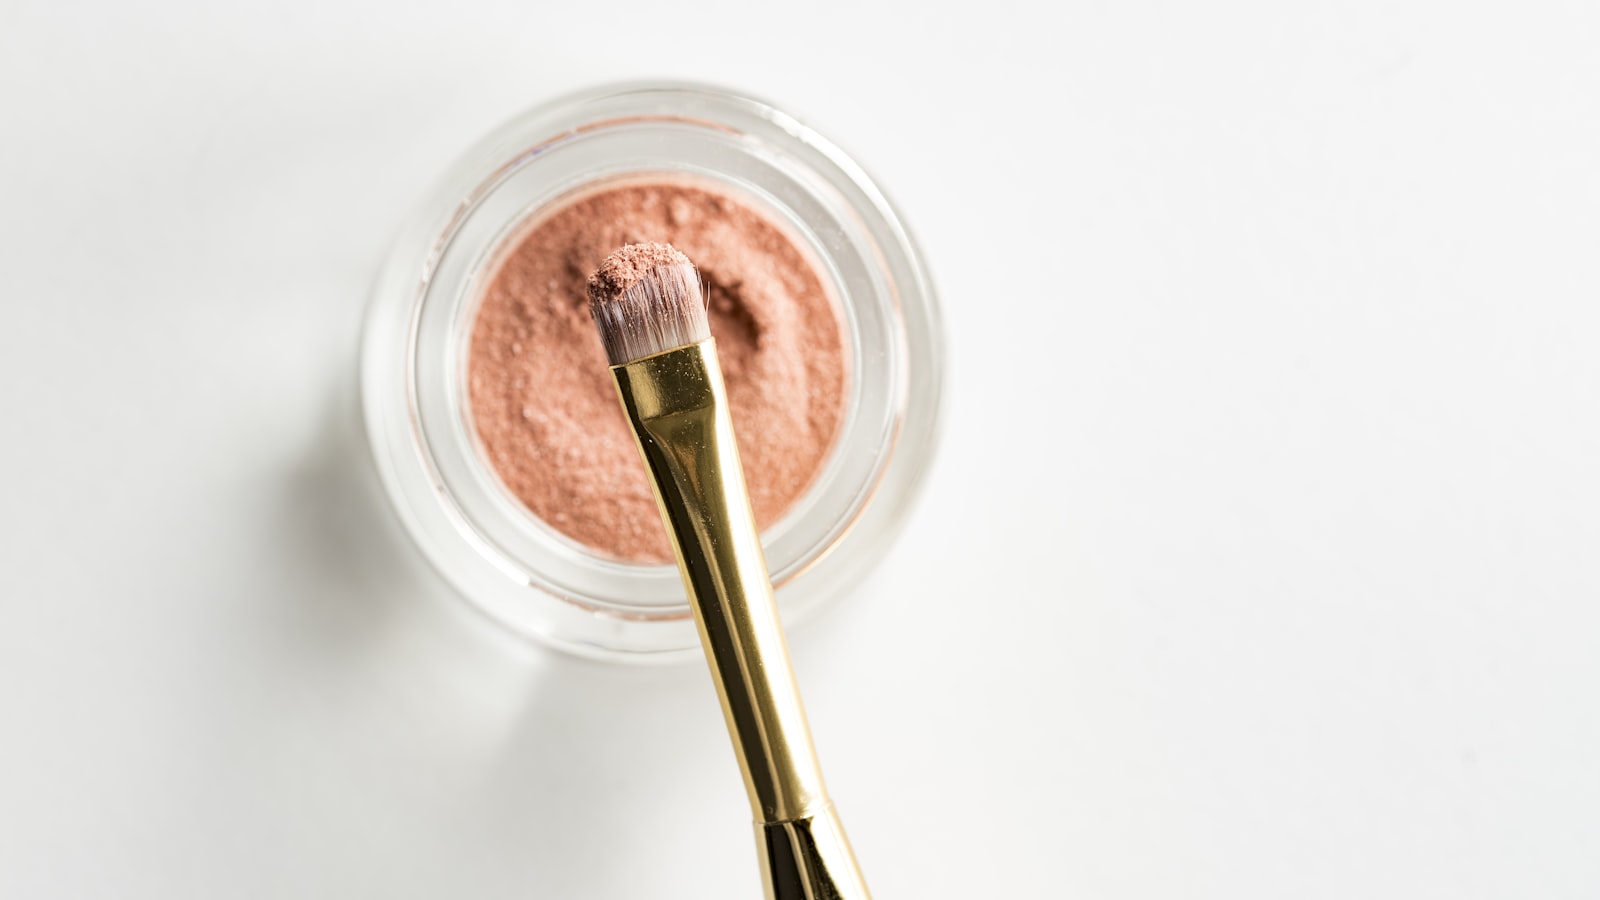
The base shade is a matte beige or pale apricot a half-shade lighter than your lid skin. With a loose blending brush, goat hair, 1.8 cm bristles, medium density, take a small amount and sweep from brow bone down to the lash root to even out the skin and boost the payoff of whatever comes next. The dosage should leave no visible patch when swept, roughly a rice- to mung-bean-sized load; too much pools in the crease and reads dirty.
The transition shade is the same family two steps deeper, think light brown or lotus pink, brought from the lash root up to about two-thirds of the socket for a deep-to-light gradient. The depth shade, deep brown, wine, or gray-brown, sits only at the lash root through the crease and in the outer-corner triangle, in the smallest amount, about a sesame seed. Light to deep, large to small, is the iron rule. Break it and the eye looks swollen and muddy.
- Base unifies the skin and boosts payoff, matte beige or apricot
- Transition builds the gradient but never crosses the socket line
- Depth shade only at the root and outer triangle, smallest amount
Three shades, light to deep, area large to small.
The Blend Boundary and Technique
Blending is what decides whether the eye looks dirty. After each shade, take a clean blending brush, no product, 1.6 cm bristles, and work small circles to dissolve the hard edge between colors so there's no seam. Always move from lash root toward brow bone and from inner corner toward the outer corner, never reverse, or you drag the dark into the center and go gray, the number-one reason beginners' eyeshadow muddies.
The socket line is personal: press a finger just under the brow bone and you'll feel the dip, that's your crease. Keep the transition shade below it, cross it and the eye puffs. After loading, twirl the brush on the back of the hand to knock off excess; build in thin layers rather than one saturate. Newbies should blend each shade for thirty seconds before the next; slower now beats a dirty redo later.
- After each shade, a clean brush in circles dissolves the seam
- Transition stays below the crease line to avoid puffiness
- Tap off excess on the hand, build in thin layers
Without a clean blend, the best palette still looks dirty.
Eye-Shape Adjustments: Monolids and Inner Doubles
A monolid has no crease to hold product, so a large light area just puffs. Shrink the base range and concentrate the transition and depth within about 1.5 cm above the lash root as a vertical narrow gradient, and extend the outer corner outward about 1.2 cm for length. Keep shimmer off the whole lid, dot it only at the center of the lash root to wake the eye, because all-over shimmer amplifies swelling.
An inner double hides its crease when the eye opens, so the shadow must land on the narrow strip that shows with the eye open, roughly 1 cm above the lash root. A beautiful closed-eye application that vanishes on opening is worthless. Use the prop-the-eye-open method to confirm the reveal as you go, and balance the heavy top with a deep shade through the outer lower corner. The secret of the inner double is confirming with the eye open, not admiring it closed.
- Monolid: shrink the range into a vertical narrow gradient
- Inner double: place it on the strip visible with the eye open
- Extend the outer corner about 1.2 cm for length
The monolid wants vertical depth, not horizontal spread.
Fixing Downturned Eyes and Puffy Lids
A downturned eye drops at the outer corner below the inner, so take the depth shade and pull it up and outward at a forty-five-degree angle above the outer corner, reaching about 1 cm past the outer eye, and let the top liner flick just slightly up. Keep the center to inner corner clean and light so you don't push the visual weight down. On the lower lash, shade only the back third and leave the front bare for alertness; lining the whole lower lid makes the eye droop more.
A puffy lid must avoid shimmer and large light areas, which amplify the bulge. Switch to matte, let the depth shade grow a little to press the puffiness down, and lift the bone with a matte light just under the brow. A three-minute cold compress before makeup temporarily deflates the lid, a genuine emergency fix. The first rule of puffy lids is to stay away from shimmer, and that one rule dodges most of the traps.
- Downturned eye: depth pulled up at a forty-five-degree angle
- Puffy lid: matte only, shimmer banned
- Lift the bone with matte light under the brow
The first rule of a puffy lid is to stay away from shimmer.
Liner and Lashes to Finish
Use a waterproof gel liner to fill the gaps at the lash root, not to paint a floating thick line; daily wear is the inner liner. For the outer corner, keep it parallel or a touch lifted, never longer than about 0.8 cm past the outer eye. A liquid liner with a 0.1 mm fine tip controls the arc far better than a fat tip that draws a frame and reads mean.
Clamp the lash curler in three sections: firm at the root, light through the middle, a slight lift at the tip, three seconds each. Load a soybean-sized amount of mascara, zigzag at the root then sweep up, and comb the lower lashes vertically. Sparse lashes get a lengthening base then a volume coat, two layers total; three clumps. Liner and lashes are the closure of the eye, and without them even a great lid looks unfinished.
- Inner liner fills gaps, no thick floating line
- Curl in three sections, three seconds each
- Mascara zigzags the root then lifts, two coats enough
Liner fills the gaps, it doesn't draw a frame.
A Safe Formula for Color
Newbies should lean on a same-family three-step gradient, beige-apricot, light brown, deep brown, impossible to mess up. To advance, use adjacent hues, lotus pink with brown, warm orange with wine, still holding the value ladder. Clashes, blue with orange, purple with yellow, need a clear separation of main colour from accent, the main colour seventy percent and the pop thirty, or it reads chaotic, so avoid them day to day.
Earth tones suit everyone; cool skin can add gray-pink or gray-purple for character, warm skin harmonizes with gold-brown or orange-brown. Shimmer belongs only at the center or inner corner as a pinpoint, about a mung-bean amount, more and it looks cheap. Remember color serves structure, and a messy structure can't be saved by an expensive shade. Structure before color, never the reverse.
- Newbies: same-family three-step gradient is safest
- Clash colors: main seventy percent, accent thirty
- Shimmer only at the center, mung-bean amount
Structure is the skeleton, color is the clothing.
Tools and the Rhythm of Practice
You need at least three eye brushes: a flat packing brush, a fluffy blender, and a fine detail brush, together running about 80 to 200 RMB, roughly 11 to 28 dollars. Practice with a single shade to learn the blend boundary before you introduce the three-shade structure; don't jump straight into complex palettes. Five minutes a day on single-color blending, and your hand transforms within two weeks.
If you go too heavy, don't panic, sweep a clean blender outward to rescue the edge. Pick a palette that's mostly matte with one or two shimmers, not a whole pan of glitter you can't use. With the right brushes and a steady rhythm, the distance from disaster to clean is shorter than you think.
- Three eye brushes total roughly 80 to 200 RMB
- Practice single-color blending before the three-shade structure
- Five minutes a day, two weeks to transform the hand
Eye-makeup progress is built by a hand trained on one color.
Practical checklist
- Three shades, light to deep, area large to small, is the iron rule
- After each shade, a clean brush in circles dissolves the hard edge
- Keep the transition below the crease line or the eye puffs
- Inner doubles place by the open-eye reveal, a closed-eye beauty is useless
- Puffy lids stay away from shimmer, use matte depth to press the bulge
- Single-color blending before the three shades, never reverse the order
The threshold of eye makeup isn't taste, it's structure. The three shades of base, transition, and depth each do their job, the blend keeps the edges clean, and the shape adjustments put the placement where it belongs, giving you a copyable chassis. Color you can play with later, but learn the structure and technique first. For the first three weeks use only an earth-tone three-step to drill blending and placement, and the progress will be obvious. With the right brushes and a steady rhythm, the move from disaster to clean is really just two weeks of deliberate practice.
Frequently asked
Why does my eyeshadow always blend dirty?
My monolid eyeshadow looks like I wore none, what do I do?
Keep reading
More Makeup
Eyebrow Design: Mapping the Arch to Your Face Shape and Brow Color
From placing the arch by face shape and matching brow color to hair, to tweezing frequency and the stroke order, a complete method for brows that are actually yours.
The Complete Logic of Base Makeup: Order and Technique from Primer to Setting
From sunscreen and primer through concealer and powder, we break down the dosage, tools, and sequence of every step into a base routine that won't cake or patch.
Makeup for Sensitive Skin: Ingredient Avoidance and Gentle Removal
List the irritants sensitive skin should avoid, the standards for low-irritation product choice, and a complete gentle-removal routine.